Lesson 13: How to Start Your Renovation - Step-by-step Guide
Not sure where to start your renovation? This lesson walks you through the process step by step - from planning and budgeting to materials and mistakes to avoid. Designed for beginners and first-time homeowners.

Renovating your home may seem overwhelming, especially if its your first time. But with a clear plan, the process becomes not only manageable, it becomes exciting.
In this guide, I'll walk you through the renovation journey step by step: from defining the type of repair to choosing materials, planning the layout, and managing the budget. Let's simplify the chaos.
Step 1: Decide on the Type of Renovation
Start by assessing your home's current condition and your goals. There are three main levels of renovation:
- Cosmetic: Includes repainting walls, changing flooring, replacing light fixtures, or updating textiles.
- Partial: Might involve replacing windows or doors, installing new flooring, or updating the bathroom.
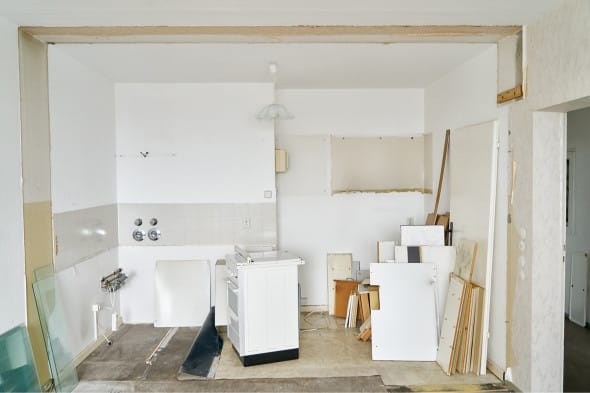
- Full renovation: Includes dismantling walls, replacing plumbing and wiring, aligning floors and ceilings, and possibly reconfiguring the layout.
If you're unsure, consult a renovation expert for a one-time inspection. You don't always need a full design project, but without clear planning, even cosmetic updates can lead to problems if old systems (like leaking pipes or drafty windows) are ignored.
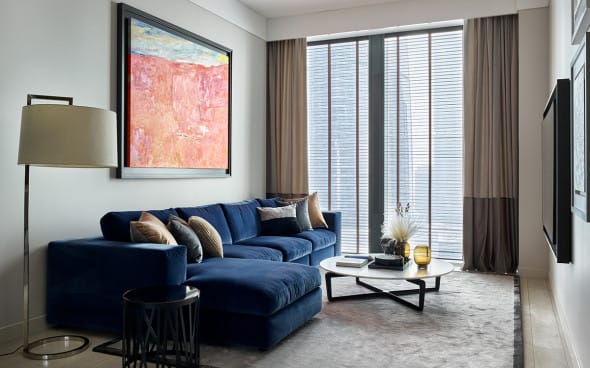
Step 2: Define Your Interior Style
Your design decision shapes the entire renovation process.
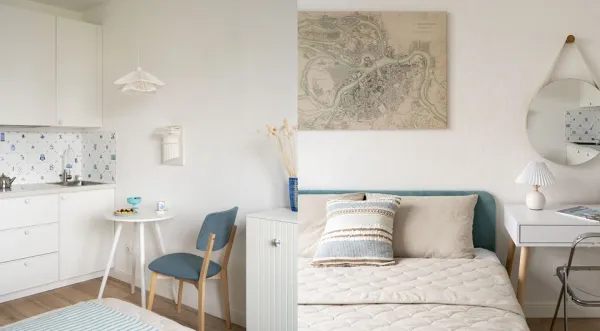
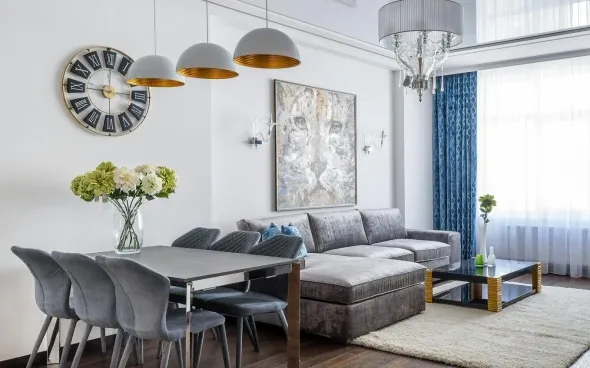
You don't need to hire a professional designer, but you do need a vision. Start collecting references from interior design websites, Pinterest, or magazines. Save ideas that speak to you: whether it's minimalism, boho chic, or Scandinavian calm.
Consider your lifestyle:
- Do you cook often?
- How many people live in the home?
- Do you need a dedicated workspace?
- Are there kids or pets to plan around?
These answers help define both functionality and aesthetics. Choose colors and textures that reflect how you want your home to feel, not just how you want it to look.
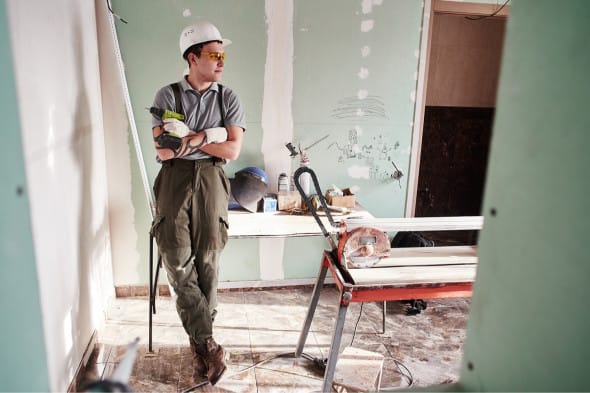
Step 3: Plan the Work (and Who Will Do It)
You can paint a wall or assemble furniture yourself. But for structural, electrical, or plumbing work, call in professionals. Trying to save money by doing it all yourself may lead to bigger expenses later.
What to DIY:
- Painting walls
- Furniture assembly
- Styling and decor
What to outsource:
- Electrical wiring
- Plumbing and water lines
- Floor screed and leveling
- Installing windows and doors
A professional team also brings speed, experience, and access to the right tools. It reduces delays, defects, and rework.
Step 4: Estimate Materials and Budget
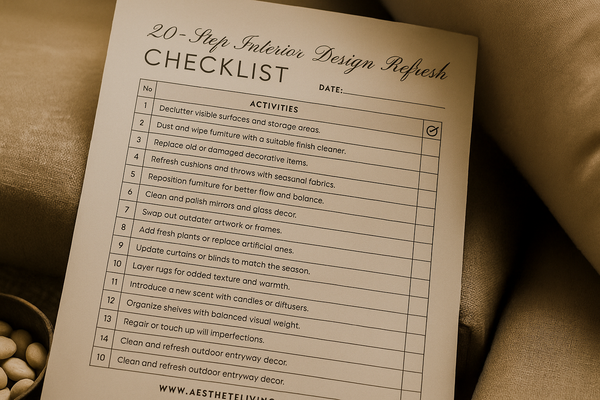
Once your layout and style are clear, start a checklist of everything you'll need:
- Paint, wallpaper, tile
- Flooring and baseboards
- Lighting fixtures and switches
- Furniture and appliances
- Small decor, mirrors, rugs
Buy with a small reserve. Tiles, wallpaper, or paint can vary between batches, so having extra avoids mismatches later.
Step 5: Create a Timeline
Even a basic renovation should follow a clear timeline. Here's the general order of work:
- Take measurements of all rooms
- Demolish what needs to go: walls, floors, built-ins
- Replace wiring and plumbing
- Install windows and entry doors
- Rough finishing: wall alignment, floor screed, ceilings
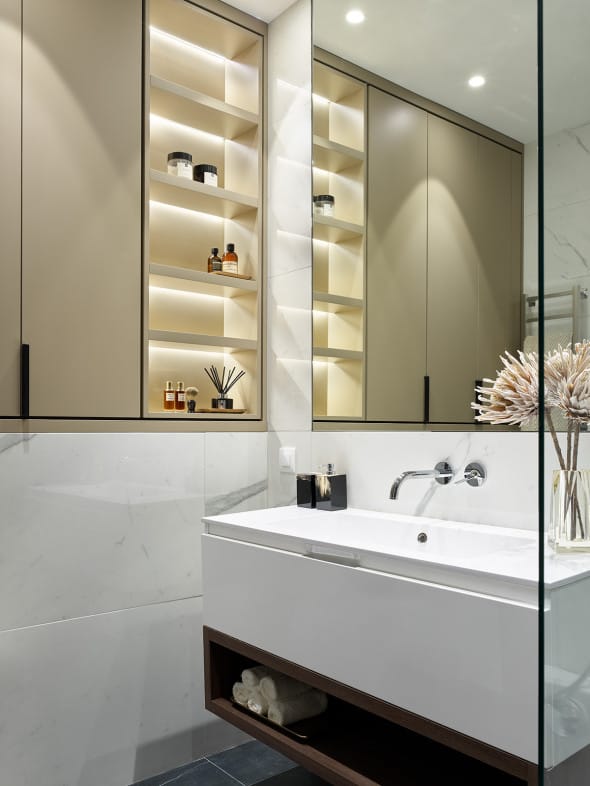
- Bathroom tiling and fixtures
- Paint or wallpaper the walls
- Lay floors, then install baseboards
- Install interior doors
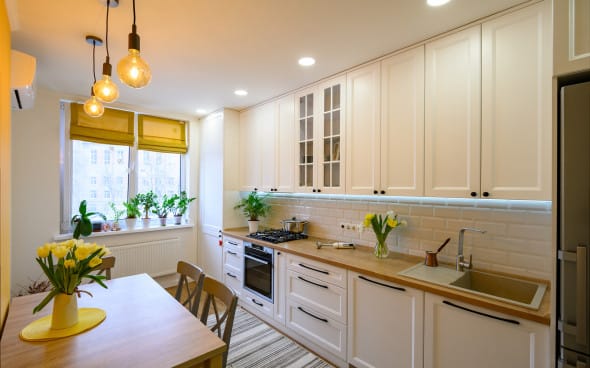
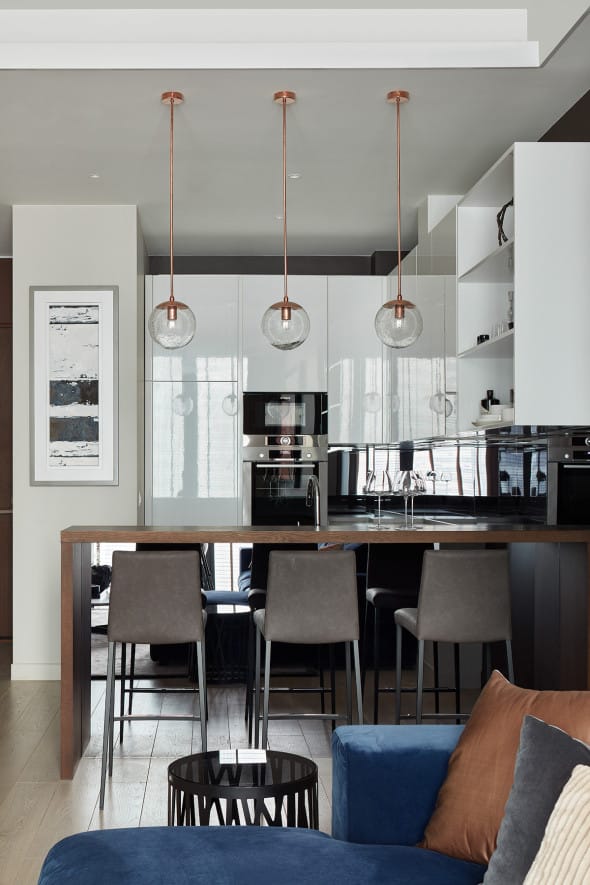
- Set up the kitchen and appliances
- Add decor and lighting
- Final clean and move-in
The messiest jobs (plumbing, window replacement, demolition) should be done first. Only then move to finishing materials.
Step 6: Document Everything
It helps to write things down:
- Floor plans with measurements
- Socket and switch placement
- Materials used and where they were bought
- Timeline of expected stages
Whether you're managing a contractor or doing it solo, clear documentation prevents misunderstandings and budget blowouts.
Final Thoughts
Renovation doesn't have to be chaos. With good planning and smart decisions, it becomes an exciting process of turning your space into something that truly reflects you.
My advice as someone who's written about design since 2018: don't chase trends. Focus on functionality, comfort, and personal meaning. Build the home you actually want to live in - not the one that just looks good on social media.
Enjoyed this lesson? There's more waiting.
Support Aesthete to unlock the full archive of architecture and interior style lessons - including tomorrow's post on Avant-garde interiors, plus 70+ exclusive deep dives, style guides, and subscriber bonuses.
For just 3.99/month, you'll get:
- Access to all premium lessons
- A downloadable Style Index PDF (coming soon!)
- Exclusive moodboards and design tips
Become a Supporter Now - help keep thoughtful design content independent.